Showing posts with label PP: Simple Stories. Show all posts

Saturday, 16 January 2016

2-0-1-6 Recipe Challenge | Lulupu Design Team

Good morning!

If you're not here from the Lulupu Blog, let me give you some background information. I am sharing my Design Team project for January's Challenge and here's what the theme is.

Challenge #57

2-0-1-6 Recipe Challenge

Read all challenge rules here

Specific Rules for Challenge #57 are:
1. Create any project - Card, LO, Mixed Media, Alterered Art, 3D Project, etc.
2. Use the ingrdients given below and apply 2-0-1-6 to the Recipe
  • Stamps (any kind - clear, wood mounted, digital, etc.)
  • Washi Tape
  • Patterned Papers, and
  • Diecuts and/or flowers (only die cuts, only flowers or a mix of both)
For example: 2 Diecuts, 0 Washi Tape, 1 Stamp (or stamp set) and 6 Patterned Papers.
State the recipe in your post clearly as I will do for my project, below.

3. You may use other items on your project, but please ensure that the above mentioned items are the focus of the project and are easily visible.

4. Last Day for submission of entries: 31 January, 2016 11:55 PM IST


So for my project I have made a Photo Wallet and here's the recipe I have used:
2 - Patterned Papers
0 - Stamps
1 - Washi Tape
6 - Die Cuts

My photo wallet is nothing but a 4" x 4" Accordion Card with a flap and with photos inside. Here's the front.

Sunday, 10 January 2016

Mini Album with Hinge Binding #1 | Birthday Themed

Hello, hello, hello!

After a long, long, time, I am back with a new project that is not a part of a blog hop or a DT project :P Not that didn't enjoy any of those, it's just that posting your own projects after so long feels great. :) :)

So today, I have for you, my first Mini Album with hinge binding. Yeah, baby! I did the binding too. I know a lot of you crafters out there have already done this before, but it was my first so I was super impressed with how amazing the technique was and how fabulous the result.

It also needs mention that I made this way back in June 2014. But since I haven't been taking any custom requests since then, I wasn't actively posting projects. So without further ado, I'll share pictures.

Here's the cover of the album.

Wednesday, 9 July 2014

Scrapbook - Page #3: Arranged Dating

This is the THIRD POST in a series of posts. To read all posts in this series, click here.

See previous pages here...
1 | 2

I love the title of the page. Even more so because it didn't come from me. The couple wanted to call their courtship as Arranged Dating and I thought it was pretty cool and I went along with it.

Let me start with peeks from various corners and angels of this page before showing the whole thing to you.

The background paper is from Crate Paper's Flea Market collection. 
The blue chevron PP is from My Mind's Eye's Citron Paper Pad from the Indie Chic collection.
I have used the Spellbinders Edgeabilitles Scallop Die and Distressed it with Tea Dye Distress Ink.
I have used the following thickers/chipboard stickers for the page title:
a) ARRANGED - Glitter Foam Thickers, Sunny Banana
b) DATING - Campy Trails Wood Stickers - Forest Chestnut by American Crafts

Thursday, 3 July 2014

Box Card | Quilled Floral Paradise!

PICTURE HEAVY POST

If you are reading this on your mobile device, click here to read it in your browser.
Click on the pictures for a better view and larger images.

So this box card was requested by Moumita's cousin and he wanted us to go all out with the Quilling an we did. This was a double box card - a box within a box card - so that meant double the fun!! :D :D As it was for Moumita's cousin, I thought it would be good practice for her to make the box on her own. So I haven't done a thing in this, except selection of the PPs, the design and size of the flowers, the colours of the Quilling strips etc. In short, I designed, she created. I didn't lift a finger and I loved it!! :D :D

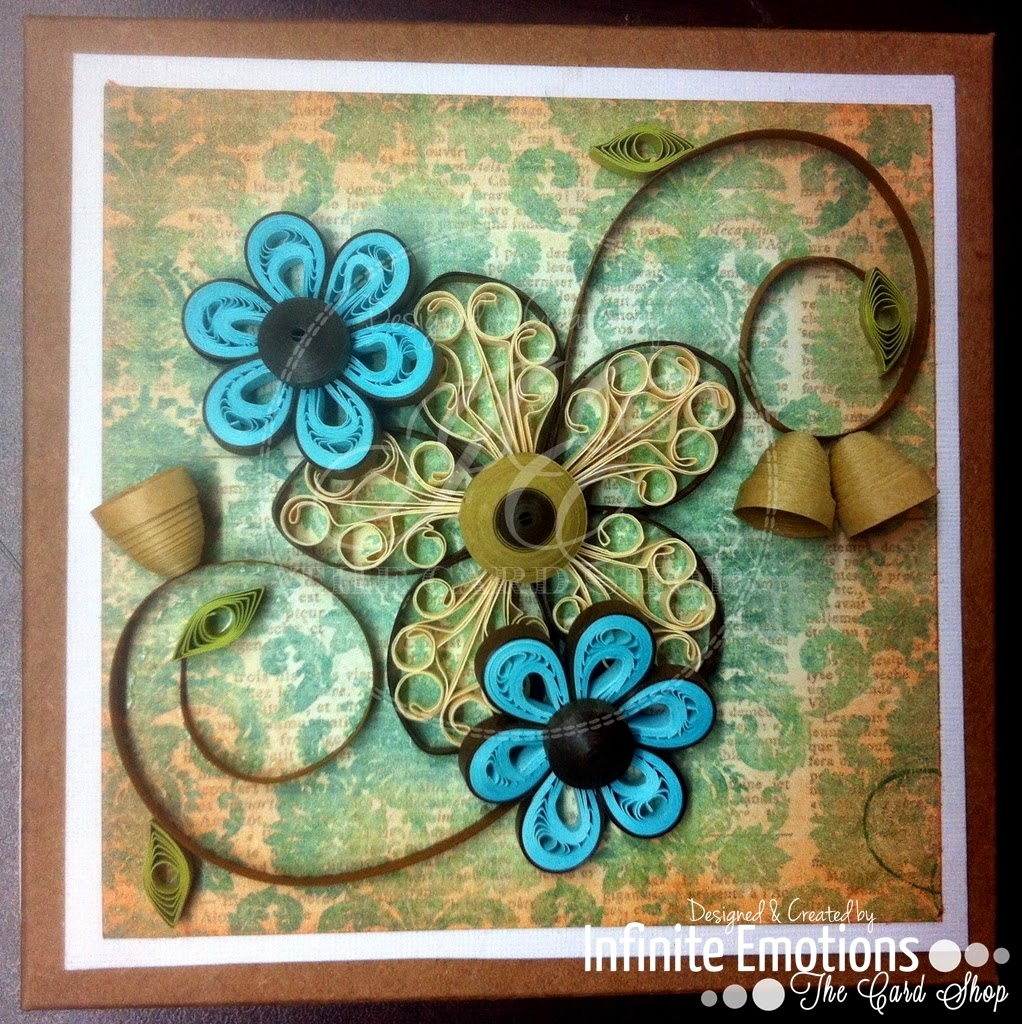
Let's talk about the outer box first. The papers used for this were from DCWV's Mixed Media Mambi Collection - Sides and Lid. We did green on two sides and orange on the other two. The design had one large Royal Flower and two smaller Malaysian flowers with a bit of leaves on the sides. This design was a slight modification of the design used on the lid of an older box card (image below.)
Complete post of the above box on the Lulupu Blog here.

The design was exactly the same for the green as well as orange side...
We tried something new here... We did a black outline on everything Quilled... 
Almost everything

Glimpses of the Green Side... :)

Saturday, 14 June 2014

Rainbow Mini Album

I made this album way back in December last year. This was a gift for someone's birthday and the whole message could be done in seven pages. Seven pages = Seven colours = Rainbow Colours and that's how the album came to look like a rainbow - One colour each page :D :D

Without further ado, here are the pages..

Sunday, 13 April 2014

Valentine's Day 2014 | Project 1 - Accordion Card

Hello people!

I am back after a really long time. It's two months late, but I am now sharing the projects that I made for Valentines' Day. Sadly, I didn't make any for my husband. :(

Anyway, this one is an accordion card and was requested by one of my friends from school for her husband, and in a rare occasion today, I am going to type less and get straight to the pictures. Lesser than normal, I meant. :P

When I was making this, I was still in love with the Quilled Creations Rose Die and I thought I'd use them here. :)